The holiday season is a wonderful time to create Christmas tree art with kids. Why not get creative and make some beautiful, fun, and easy Christmas trees. Most of the materials you will find around your house. Additionally, a quick trip to a dollar store might be worthwhile for specific items you might need.
Let’s create original tree designs, boost fine motor skills, and enjoy the special moments with your kids.
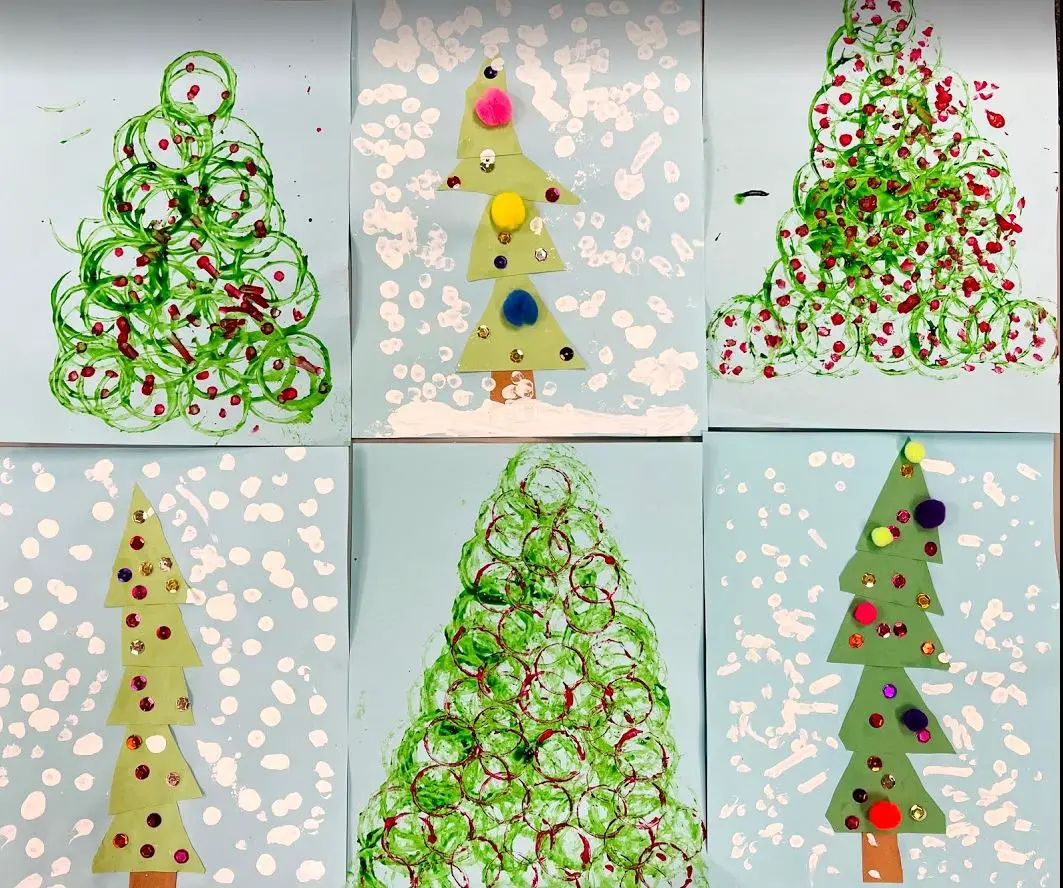
Circle Stamp Christmas Trees Art
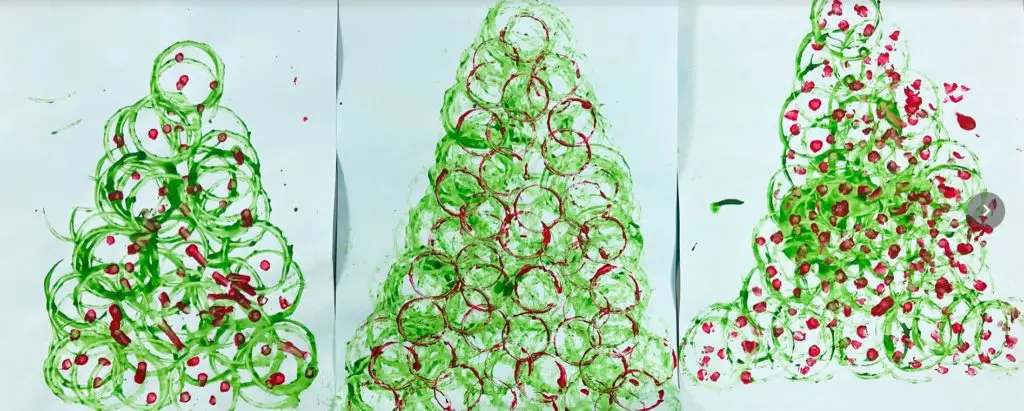
Supplies: paper, green paint, additional paint for decorations, empty toilet paper roll or paper towel roll, other tops from water/juice bottles, and q-tips.
Instructions: Dip the toilet roll in green paint and stamp the paper to create a tree shape. Use smaller bottle tops or q-tips and dip in a different color paint to decorate the tree.
Decorated Christmas Trees in the Snow

Supplies: paper (not white) for background, green paper, a small piece of brown paper, scissors glue, decorative beads, sequin or pompoms, white paint, and q-tips.
Instructions: Cut green paper into a 2-3 inch paper strip; draw a zigzag on the paper strip and cut on the zigzag line, which will create triangles. Glue triangles onto the paper to build a Christmas tree. Glue a brown rectangle to make a tree trunk. Glue decorations onto the tree. Dip q-tip in white paint to paint the snow.
Fork Painted Christmas Trees

Supplies: paper, fork (we used plastic), green paint, additional paint for decorations, q-tip.
Instructions: Dip the fork in green paint and paint it on paper to create a tree shape. Dip q-tip in different color paints and decorate the tree.
Pinecone Christmas Tree
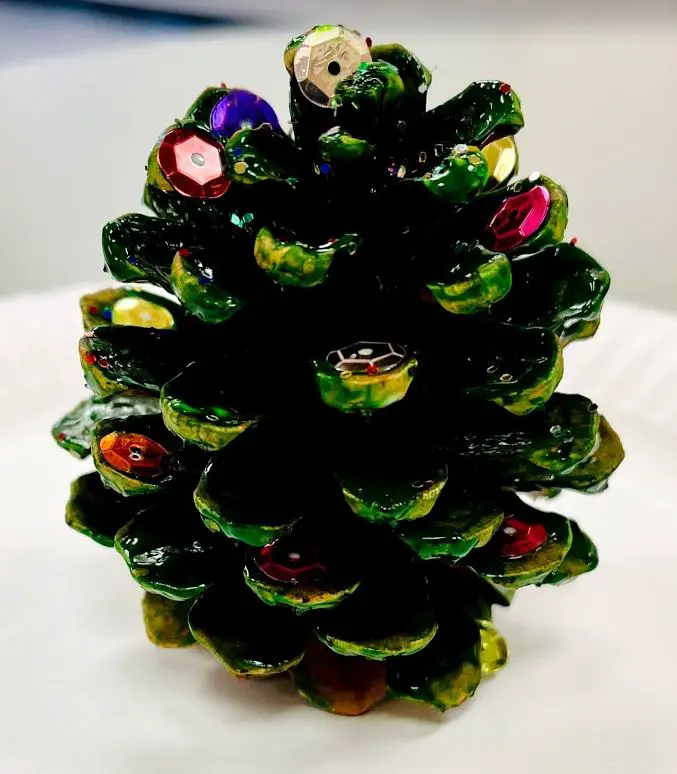
Supplies: green paint, paintbrush, pinecone (we collect our pinecones when we camp, they are available in the dollar store), optional collections include decorations, glue, and glitter.
Instructions: Intricately paint the pinecone, and decorate it if you wish.
Rectangle Christmas Tree
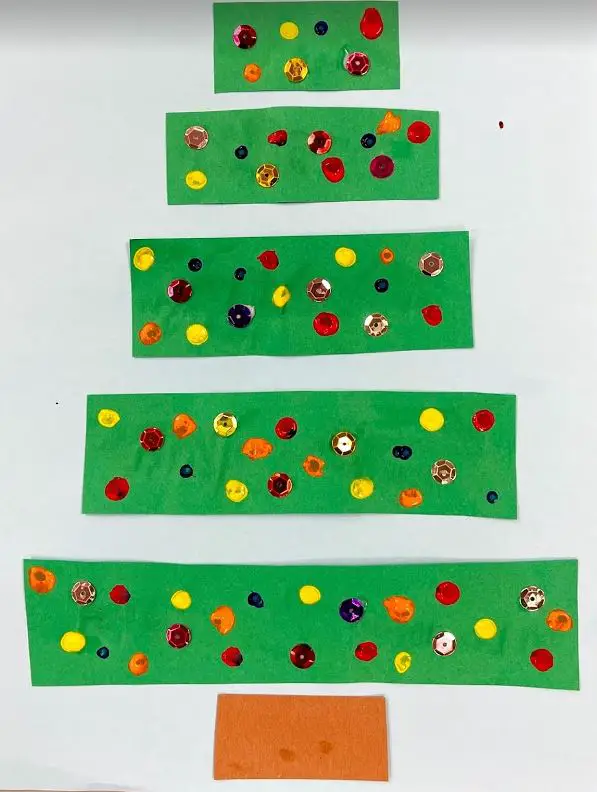
Supplies: green and brown paper, and desired color paper for your background, scissors, glue, decorations for the tree (sequin, stickers, paint, markers).
Instructions: Cut the green paper into 1-3 inch paper strips and cut the strips into various lengths, gluing longest on the bottom and shortest on top to make a tree—glue short brown rectangle bottom for the trunk. Decorate your tree.
Triangle Christmas Tree

Supplies: green paper, background paper, a little piece of brown paper, scissors, glue, and stickers.
Instructions: Cut green paper into different shape triangles, arrange and glue triangles to form a Christmas tree. Glue brown triangle at the bottom for the trunk. Decorate your tree with stickers.
Ruffled Christmas Tree in the Snow
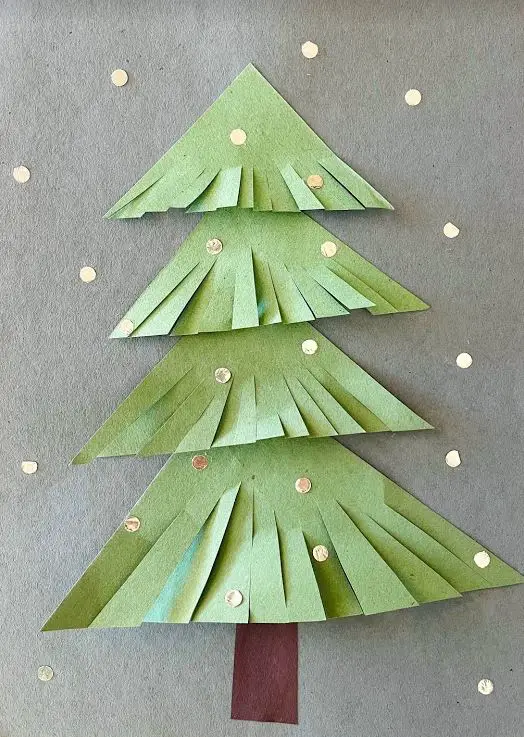
Supplies: paper for the background, green paper, a small piece of brown paper, glue, scissors, aluminum foil, hole puncher.
Instructions: Cut green paper into triangles of various sizes, snip multiple ruffles at the triangles’ base. Glue triangles from biggest to smallest to create a Christmas tree. Glue brown trunk at the bottom. Hole punch aluminum foil to make shiny snow and glue it to your picture.
Stripped Christmas Trees
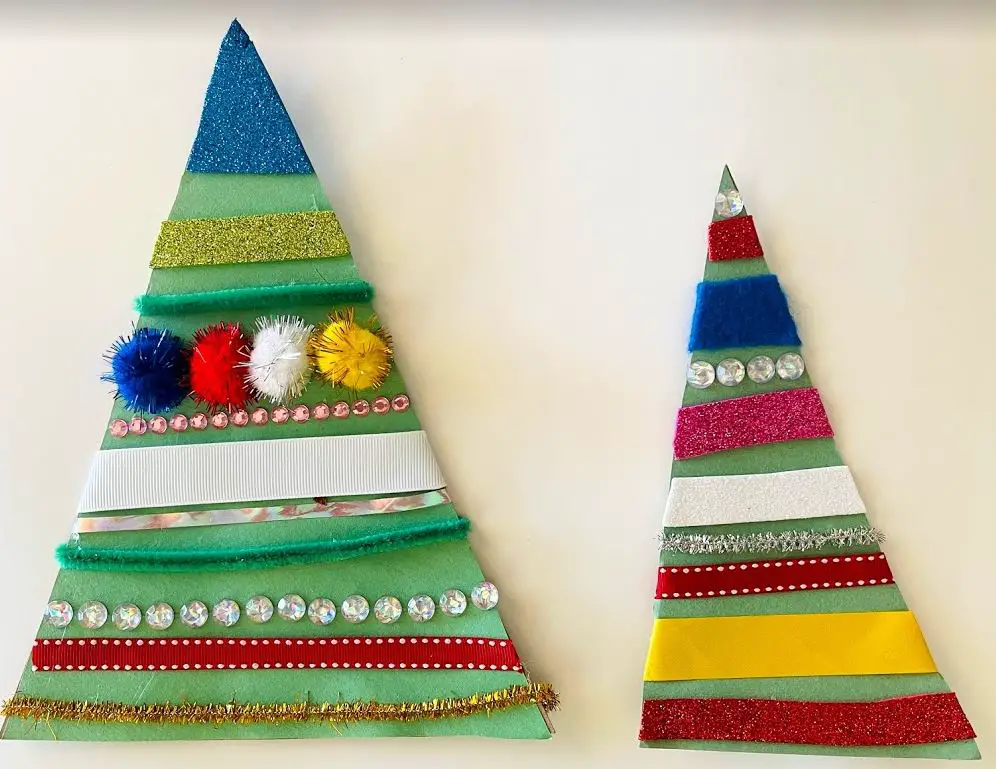
Supplies: green paper, cardboard (shoebox or cereal box), stripes (various media such as ribbons, colored paper, pipe cleaners, bedazzles, pompoms), hot glue.
Instructions: cut out a triangle from cardboard, glue a matching green paper triangle onto the cardboard, glue colorful stripes to decorate the tree.
Foil Christmas Tree Art
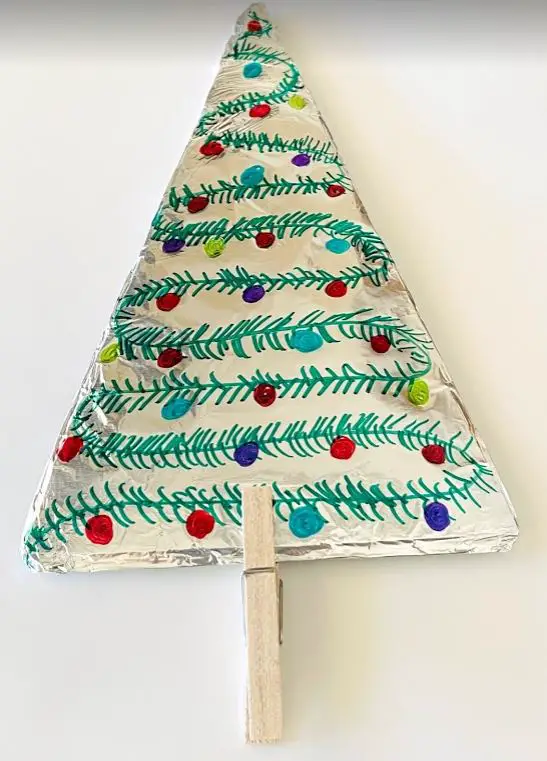
Supplies: cardboard, aluminum foil, and sharpie markers, and clothes pin-optional.
Instructions: cut out a triangle from cardboard, cover it with aluminum foil, draw decorations with sharpie markers.
Christmas Tree Ornament
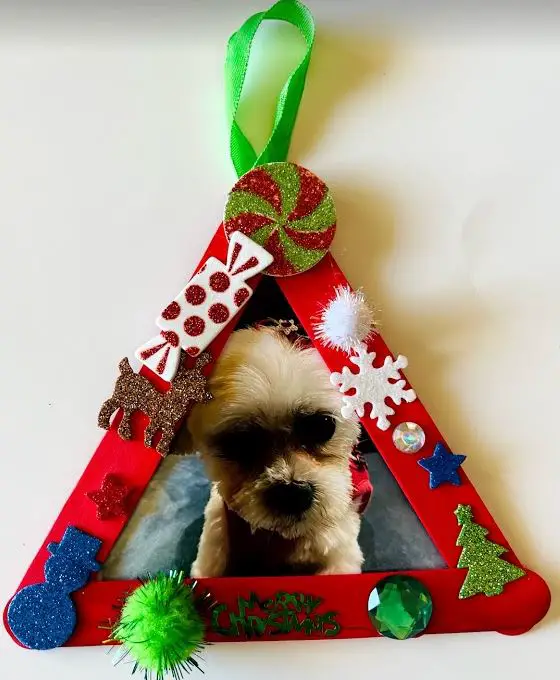
Supplies: (3) popsicle sticks, paint, stickers and decorations, hot glue, short ribbon, and optional photo.
Instructions: Paint popsicle sticks with desired color paint, wait to dry, and then decorate it. Hot glue popsicle sticks to form a Christmas tree. Hot glue ribbon loop at the top. Cut and glue the picture to fit the tree opening if desired.
Conclusion
Creating art provides children with an opportunity to express themselves, improve fine motor skills, and have fun. Let the creations begin! Happy Holidays!
If you enjoyed this article please share it with a friend!
For more fine motor ideas check out 10 Best Preschool Fine Motor Activities and 10 Activities to Improve Hand Strength in Children

0 Comments